Peanut Butter Cup Cookies

Welcome to Day 1 of the 12 Days of Christmas Treats! If you’re new to my blog, every year I post a new cookie recipe every day for the first 12 days of December. I’ve been doing it for quite a few years now, and I’m always amazed at all the new cookie ideas that are out there! If you’re interested you can find previous years here: 2009, 2010, 2011, 2012. Or view them all in one place: All Christmas Treats
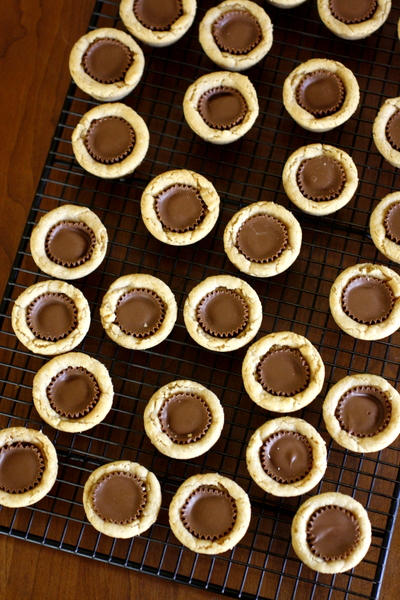
And now on to this year’s cookies! These peanut butter cup cookies are a classic, and yet this is the first time I’ve ever made them. I’m sure I will be making them every year from now on though!
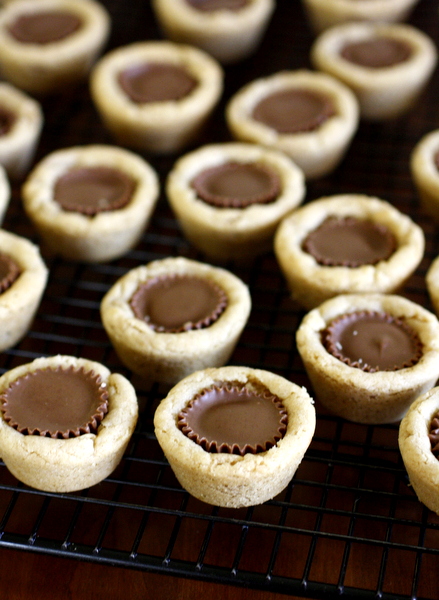
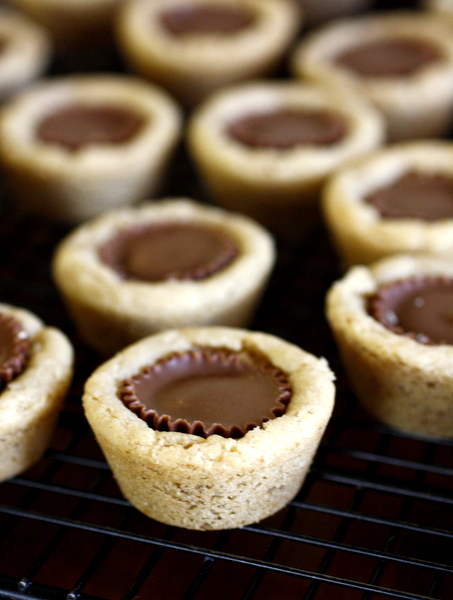
Don’t they look amazing? I can’t believe it’s taken me this long to make them. They are soft and chewy and full of peanut butter and chocolate flavor. I can’t stop eating them!
The recipe comes from one of my mom’s friends and it is absolutely wonderful. She made these cookies for the cookie table at my brother’s wedding, and ever since then I’ve wanted the recipe.
The outside is a soft peanut butter cookie, and the inside is a mini Reese’s peanut butter cup. You seriously cannot go wrong with these cookies, and if you’re a peanut butter lover, this is the ultimate cookie for you.
Peanut Butter Cup Cookies
Ingredients:
- 1/2 cup sugar
- 1/2 cup butter
- 1/2 cup peanut butter
- 1/2 cup brown sugar
- 1/2 tsp vanilla
- 1 egg
- 1 1/2 cup flour
- 1/2 tsp salt
- 1 tsp baking soda
- 36 mini peanut butter cups
Directions:
- Preheat oven to 350. Unwrap the mini peanut butter cups and set aside.
- In a large bowl, cream together the sugar, butter, peanut butter, brown sugar and vanilla. Add the egg and beat until combined. Add in the flour, salt and baking soda and mix until just combined.
- Roll the dough into small balls using about 1 Tbsp of dough each (should get around 36 balls). Place into mini muffin tins. Bake at 350 for 8-10 minutes.
- Immediately press a peanut butter cup into the center of each cookie. Let them cool in pan completely before removing. (Note: If they are still warm when you take them out of the pan, the cookie may fall apart.)
Click here to see the rest of the 12 Days of Christmas Treats 2013. Or you can see all of my Christmas treat recipes from over the years at this Christmas Cookies tag. Enjoy! And, as always, let me know if you try any and how you liked them.