Simple Microwave Jam


Hey guys! I’ve got a great guest post today from Andrea Dekker of Simple Organized Living. She is one of my blogging friends here in West Michigan and she is so kind to share some of her simple cooking secrets over here. Enjoy her post, and don’t forget to check out her site – she’s got some great trips and tricks for simple organized living!
Yes, I know it’s only March and fresh berries definitely aren’t in season yet, at least not in Michigan. However, I did see the very first batch of rhubarb at the grocery store — so spring is almost here!
One of my favorite things about spring and summer is making homemade jam. I make 6 or 7 different varieties of jam for us to enjoy, and to give as gifts all year long — it’s the perfect hostess or teacher gift along with a loaf of Megan’s delicious homemade bread!
I know that home canning is often perceived as extremely difficult, tedious, and time-consuming — but canning jam is one of the easiest foods to start with. And this simple microwaveable recipe is almost fool-proof.
You don’t need any traditional canning equipment, you only need a few cups of berries, and it only takes about 20 minutes from start to finish!
If you’ve ever wanted to try home canning, THIS is the way to start.

Simple Microwave Jam
Yield: Makes about two 8-oz. jars
Ingredients:
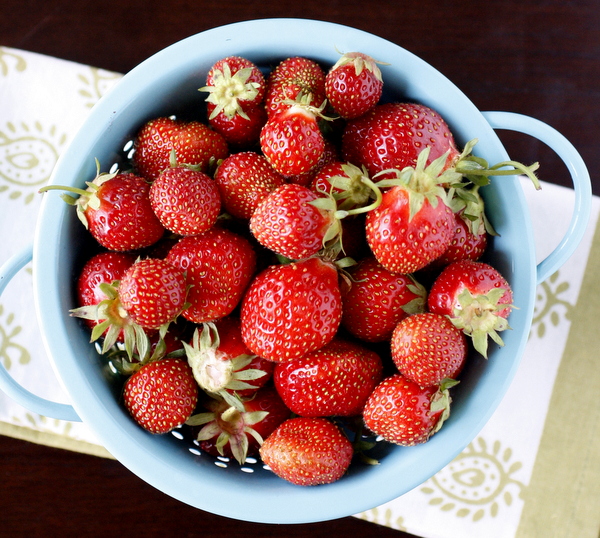
- 2-1/2 c. mashed fruit -- berries are a great way to start (you can use
either fresh or frozen fruit that has been defrosted) - 1 T. lemon juice
- 2 T. powdered pectin
- 2 c. granulated sugar
Directions:
1. In a large microwave-safe bowl, combine mashed fruit and lemon juice.
2. Stir in pectin until dissolved, then stir in sugar.
3. Microwave uncovered on high for 2 minutes. Stir and scrape sides of the bowl.
4. Return bowl to microwave for 2 more minutes. Stir and scrape sides.
5. Repeat in 1-minute intervals for another 2 to 4 minutes, or until jam froths up and thickens -- stirring and scraping the sides in between each interval.
6. Once the jam is thick, remove from microwave.
7. Stir slowly for 2 to 3 minutes or until foam subsides. You can skim off any remaining foam if you don't want it to cloud your jam (it won't affect the taste at all).
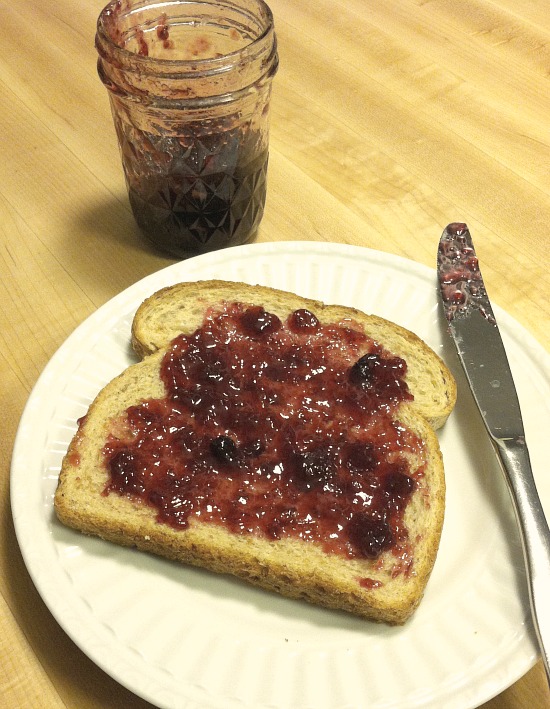
8. Ladle jam into clean jars or plastic containers and cover with tight-fitting lids.
9. Let rest at room temperature until set, then refrigerate or freeze.
10. Once refrigerated, the jam should last for 2-3 months. It will last much longer if frozen.
It doesn’t get much easier than that.
If for some reason, your jam doesn’t thicken or set properly, you can always use it as a yummy ice-cream topping!
A Few More Tips:
1. It’s best to use wooden or plastic spatulas, and bowls (metal is not ideal)
2. It’s best to use a 1200-watt microwave with a turntable. If wattage is higher, cook on 70% power; or if wattage is
lower, cook for longer.
3. Follow all measurements and instructions. Making jam is a simple process as long as you follow the
rules. It’s pretty important to measure all the ingredients carefully and cook for the
right amount of time. And NEVER try to reduce the amount of sugar!
4. Don’t make double or triple batches. If you want more jam, you’ll most likely achieve better results by making multiple single batches instead of making one huge double/triple batch.
5. Don’t worry about the jars sealing properly. Since this recipe makes such a small batch, you can simply store
your jam in the fridge until it’s gone. And if you don’t think you’ll eat it all in a few
months, you can put some in the freezer for later.
Now that you’re practically a pro at home canning, you might be interested in a few of my other home canning and preserving recipes!
Have you ever tried microwave jam?
 |
Andrea Dekker loves long lists, simple meals, and organized spaces. She spends her days changing diapers, washing dishes, and blogging about simplicity and organization. Read all her simple-living tips at Simple Organized Living. |


 Welcome! I'm Megan and it's my hope that here you'll find food that has been made with love and recipes that are shared with joy. Thanks for stopping by!


Oh yum, sounds delicious and such a simple way to start up on canning 🙂
What a great idea! I have wanted to try canning but it does intimidate me. I will have to try this when strawberries come in season.
Yeah I love meeting new W MI bloggers. What a great idea jam in the microwave!! (psst I couldn’t get the link to Andrea’s site to work)
Looks good! But the link to the bread recipe does not seem to work. Thanks for sharing this one!
I have always wanted to make my own Jam, and now I can with your delicious recipe. A good way for me to control the amount of sugar.
I know you said never to reduce the amount of sugar, but do you know if this recipe works with the low sugar pectin so you can use less? Thanks!
Have used your recipe several times and love how easy it is and works everytime. I also make your english muffin bread and toast it to go with the jam. The best! Easy and homemade. Would love to see a post on making easy dill pickles maybe the refrigerator kind? Have you made anything like this? With summer coming would like to try doing this.
Pingback: Friday Favorites 2013: Week 12 | Okay, Kaye?
Wow! In the microwave? I can definitely get down with that!!